Installing recessed lighting looks simple until the ceiling reveals hidden wiring, joists, insulation, or an awkward junction box. A careful plan prevents expensive repairs and uneven illumination. This Recessed Lighting Installation Guide explains the process from room assessment to final testing, using practical details that help homeowners work more confidently.
Lighting designer David Warfel puts it plainly: “Good lighting is not about adding more light, but putting light where it is needed.” That principle shapes every step. Measure the room first. Mark each fixture with painter’s tape. Check the joist direction above the ceiling. Confirm that the chosen housing is IC-rated when insulation may surround it. Damp locations require properly rated fixtures. Local electrical rules still matter.
Turn off the circuit at the breaker, then test the wires with a reliable voltage tester. Do not trust the wall switch alone. Cut each opening carefully, because a hole saw can quickly become an oversized mistake. Secure the housing, connect conductors inside an approved junction box, and keep wire connections accessible as required. A compatible dimmer can improve comfort, but not every LED fixture works with every dimmer.
The final result should feel calm, not glaring. Test the lights at night, when shadows become easier to notice. One fixture may need slight repositioning. That is not failure; it is useful feedback. If the circuit is unfamiliar, the ceiling is crowded, or local requirements are unclear, consult a licensed electrician. Good lighting begins with patience, accurate measurements, and respect for electrical safety.
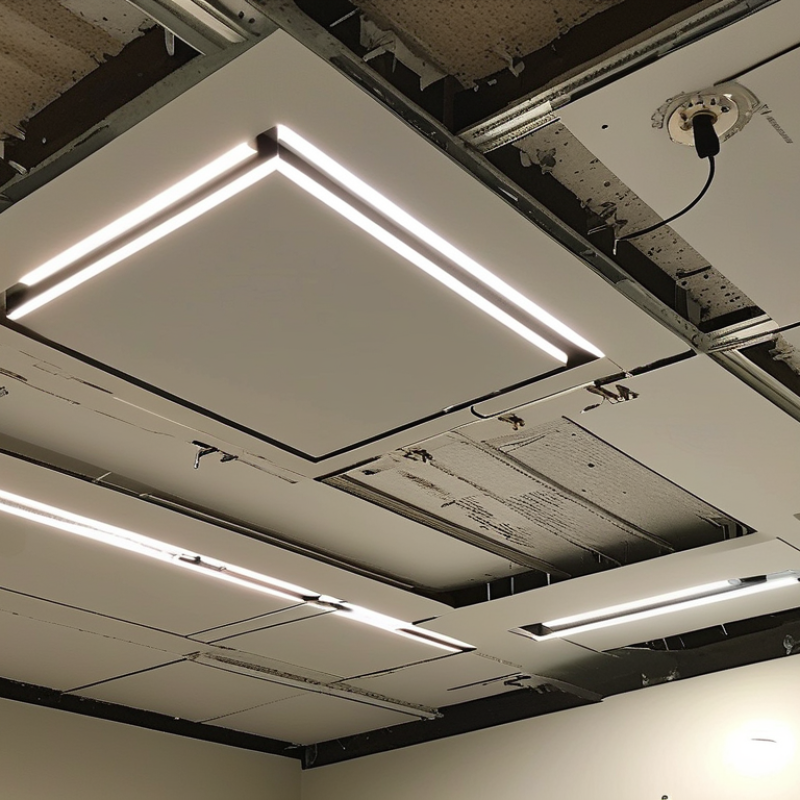
Planning a recessed lighting layout begins with the room’s purpose, not the ceiling size. I measure the space and draw it to scale, marking doors, windows, furniture, beams, and ventilation ducts. My first sketch often looks too crowded. That is useful. It reveals where light may glare off a television or disappear behind tall cabinets.
For general lighting, I usually space fixtures about half the ceiling height from the walls, then adjust the distance between them. A lower ceiling may need wider beam angles and fewer fixtures. A kitchen benefits from focused light over work surfaces, while a bedroom often needs softer, dimmable illumination. Avoid placing every light in a rigid grid. Aligning fixtures with cabinets or walking paths can look more intentional. I also test the layout with paper cutouts on the floor before cutting the ceiling.
Fixture selection requires more than appearance. Check the lumen output, beam angle, color temperature, dimming compatibility, and trim size. Insulation-contact-rated housings are important when insulation touches the fixture. Damp or wet locations require the correct moisture rating. Local electrical rules may require specific housing types, spacing, or protection devices. A qualified electrician should verify the circuit and connections. I once underestimated dark wall finishes; the room needed more useful light than my calculation suggested. That mistake taught me to judge brightness at the work surface, not only on paper.
Before installing recessed lighting, gather every tool and safety item within reach. You may need a pencil, tape measure, stud finder, drill, drywall saw, wire stripper, screwdriver, and a stable ladder. A hole-saw attachment can create cleaner ceiling openings, but measure the fixture housing carefully before cutting. Small errors become visible quickly.
Prepare approved recessed housings, compatible trim, electrical cable, cable clamps, junction boxes, and listed wire connectors. Check the fixture’s rating for insulation contact and damp locations. Keep a non-contact voltage tester, insulated gloves, safety glasses, and a dust mask nearby. Use a circuit lockout label or breaker lock when possible. Tell others not to restore power.
Turn off the correct circuit, then test the wires with a meter and a non-contact tester. Do not trust the breaker label alone. I once assumed a labeled circuit was accurate, and that assumption was careless. Verify the ceiling structure before drilling. Look for joists, plumbing, ductwork, and existing cables. Local electrical rules may require specific cable protection, box access, or licensed supervision. If the wiring is unfamiliar, stop and contact a qualified electrician. A ladder can shift. Keep both feet below the marked safe step, and never work near live conductors.
Before installing recessed lighting, switch off the correct circuit breaker, not just the wall switch. Confirm the power is off with a non-contact voltage tester. Then verify the wires with an appropriate contact tester if accessible. Test the tool on a known live circuit before checking the ceiling. This simple step confirms that the tester works. Keep the breaker off, and place a note on the panel so nobody restores power accidentally. Remove nearby furniture and cover the floor, because ceiling dust travels farther than expected.
Inspect the ceiling area from above when possible. Look for joists, electrical cables, plumbing pipes, insulation, and ventilation ducts. A stud finder helps, but it cannot detect every hidden obstruction. Use the light’s cutting template to mark the opening between joists. Leave the clearance required by the fixture instructions and local electrical regulations. Drill a small pilot hole first, then probe carefully with a flexible wire. Stop immediately if you feel resistance.
Plan the layout before cutting several holes. Measure from walls and keep the spacing visually consistent. Existing wiring can make a clean plan difficult. A careful installer may still miss an unseen pipe or cable. I have found that checking the attic twice prevents rushed mistakes. If the circuit, ceiling structure, or wiring condition seems unclear, pause and consult a qualified electrician. Safety deserves more time than a perfect-looking layout.
The chart shows a practical planning allowance in minutes for the main safety and preparation tasks before cutting the ceiling. Always switch off the correct circuit at the breaker and verify that the wiring is de-energized with a properly rated voltage tester.
Turn off the circuit breaker before touching the ceiling. Power off. Confirm the wires are dead with a properly rated voltage tester. Do not trust the wall switch alone. Local electrical codes may require a permit or licensed electrician, especially for new circuits.
Mark the fixture position between ceiling joists, then cut the opening with a template. Measure twice. The electrical housing must fit tightly without forcing the drywall. Use a housing approved for the ceiling type and insulation conditions. Secure it to the joists or adjustable mounting bars. It should sit flush with the finished ceiling, not above or below it. A loose housing can vibrate and leave visible gaps.
Bring the cable through the housing’s connector, leaving enough length for comfortable connections. Tighten the connector so the cable jacket remains protected. In the junction box, connect the grounding conductor first, then match the neutral and hot wires according to the wiring instructions. Use approved wire connectors, and keep copper fully enclosed. Never bury a splice outside the junction box. I have seen rushed installations leave cramped connections that loosen later. That small shortcut is not worth repeating. Check every connection gently, replace the junction-box cover, and ensure no insulation presses against parts not rated for contact. If the cable route, grounding, or circuit capacity seems uncertain, stop and have a qualified electrician inspect it.
With the circuit breaker switched off, inspect the recessed housing before securing the trim. The ceiling opening should be clean and evenly cut. Align the trim with the housing edge. Press each spring clip into its slot until the trim sits flat. It should feel firm, not forced. A loose trim can rattle, sag, or expose gaps around the ceiling. I have learned that one rushed clip can spoil an otherwise neat installation.
Select a bulb that matches the socket, voltage, shape, and maximum wattage rating. Never exceed the fixture’s stated limit. The U.S. Department of Energy reports that LED lighting uses at least 75% less energy than incandescent lighting and can last up to 25 times longer. Insert the bulb gently, then turn it until snug. Do not overtighten. Stop there.
Restore power at the breaker and test the wall switch. Watch the light for flickering, delayed startup, unusual buzzing, or uneven brightness. Touch the trim only after several minutes, and stop if it becomes unusually hot. The National Fire Protection Association estimates that electrical distribution and lighting equipment caused about 35,150 U.S. home fires annually from 2015 to 2019. That figure keeps the final check serious. I still recheck the trim after testing, because a clip can shift during installation. If anything seems wrong, switch off the breaker and consult a qualified electrician.
| Step | Installation Stage | Key Action | Tools or Materials | Estimated Time | Completion Check | Important Safety or Accuracy Notes |
|---|---|---|---|---|---|---|
| 1 | Turn Off the Power | Switch off the lighting circuit at the service panel before touching any wiring. | Voltage tester, service-panel directory, insulated screwdriver | 5–10 minutes | Power verified off | Test the wires with a voltage tester. Do not rely only on the wall switch being off. |
| 2 | Inspect the Housing | Confirm that the recessed-light housing is firmly installed and that the junction-box cover is closed. | Flashlight, screwdriver | 5 minutes | Housing is stable | Check that the housing is suitable for the ceiling location and that no loose wires are visible. |
| 3 | Prepare the Trim | Remove the trim from its packaging and identify the retaining clips, springs, or torsion springs. | Recessed-light trim, clean gloves | 5 minutes | Attachment method identified | Handle the trim by its edges to avoid fingerprints or damage to the finished surface. |
| 4 | Connect the Trim | Attach the trim’s springs or clips to the matching slots or brackets inside the recessed housing. | Trim assembly, flat-head screwdriver if required | 5–10 minutes | Springs or clips engaged | Never force the trim. Misaligned clips can damage the housing or prevent the trim from sitting flush. |
| 5 | Secure the Trim | Press the trim evenly against the ceiling until it sits flat and cannot move freely. | Installed trim | 2–5 minutes | Trim is flush | Check the entire circumference for gaps. A visible gap may indicate an incorrectly seated spring or clip. |
| 6 | Check Bulb Compatibility | Verify the bulb base, maximum wattage, voltage, shape, and temperature rating required by the fixture. | Compatible bulb, fixture instructions | 3–5 minutes | Specifications match | Do not exceed the fixture’s maximum wattage. Use a bulb approved for enclosed fixtures when required. |
| 7 | Install the Bulb | Insert and turn the bulb clockwise until it is secure, or push it into place if the socket uses a pin-style connection. | Compatible light bulb, dry cloth | 2–5 minutes | Bulb is firmly seated | Keep the bulb dry and avoid overtightening. Allow a recently used bulb to cool before handling it. |
| 8 | Restore Power | Turn the circuit breaker back on, then operate the wall switch or control. | Service-panel access, wall switch | 2–3 minutes | Light turns on | Stand clear of the fixture when restoring power. Turn the circuit off again if there is sparking, smoke, or a burning smell. |
| 9 | Test the Light | Confirm that the light illuminates consistently and that the trim remains secure during operation. | Installed fixture, timer or switch if applicable | 5 minutes | Stable light output | Look for flickering, unusual noise, excessive heat, or a loose trim. These signs require the power to be switched off for inspection. |
| 10 | Final Inspection | Review the finished installation for alignment, ceiling gaps, heat buildup, and proper switch operation. | Flashlight, clean cloth | 5 minutes | Installation complete | If wiring changes are needed, or if the circuit does not test safely, consult a qualified electrician and follow local electrical codes. |
: Start with the room’s purpose. Measure the room and draw doors, windows, furniture, beams, and ducts. Place lights near work areas, walking paths, or cabinets. Avoid a rigid ceiling grid. A paper layout on the floor can reveal glare before cutting.
A common starting point is half the ceiling height. Adjust spacing for ceiling height, beam angle, furniture, and wall finishes. Lower ceilings often need wider beams and fewer fixtures. The spacing may look correct on paper but feel uneven at night.
Check lumen output, beam angle, color temperature, trim size, and dimming compatibility. Choose softer, dimmable light for bedrooms. Use more focused light over kitchen work surfaces. Dark walls may absorb brightness. Judge light at the work surface.
Use insulation-contact-rated housings where insulation touches the fixture. Damp or wet areas need the correct moisture rating. Follow the fixture instructions and local electrical requirements. Never guess from appearance alone.
Prepare a tape measure, pencil, stud finder, drill, drywall saw, and stable ladder. You may also need a hole saw and wire stripper. Keep safety glasses, insulated gloves, a dust mask, and voltage testers nearby. Small measuring errors show quickly.
Inspect above the ceiling when possible. Use a stud finder, but do not trust it completely. Mark the opening with the fixture template. Drill a small pilot hole first. Probe carefully with flexible wire. Stop when resistance appears.
Turn off the correct breaker, not only the wall switch. Test a known live circuit first. Then test the ceiling wires with suitable testers. Lock or label the breaker when possible. Tell others not to restore power. Breaker labels can be wrong.
Ask for help when wiring, circuit capacity, ceiling structure, or local rules seem unclear. A qualified electrician should verify connections and protection. Stop if you find unfamiliar wiring or possible plumbing. A perfect layout is not worth a rushed mistake.
This Recessed Lighting Installation Guide explains how to plan and complete a recessed lighting project safely and efficiently. Begin by mapping the ceiling layout, measuring fixture spacing, and selecting suitable housings and trims for the ceiling type and intended lighting effect. Gather the necessary tools, materials, and electrical safety equipment before starting, including a voltage tester, protective eyewear, gloves, and properly rated wiring components.
Before working, turn off power at the circuit breaker and verify that the circuit is de-energized. Mark and cut the ceiling openings carefully, while checking for joists, pipes, ductwork, and other obstructions. Install the electrical housing securely, connect the wiring according to applicable electrical codes, and ensure all connections are enclosed and protected. Finally, attach the trim, install the compatible bulb or light source, restore power, and test the fixture. If the wiring is unfamiliar or the installation requires new circuits, consult a qualified electrician.

Cool Light